Deploy frequency within GitView is calculated at the repository level. It can be configured in two different ways:
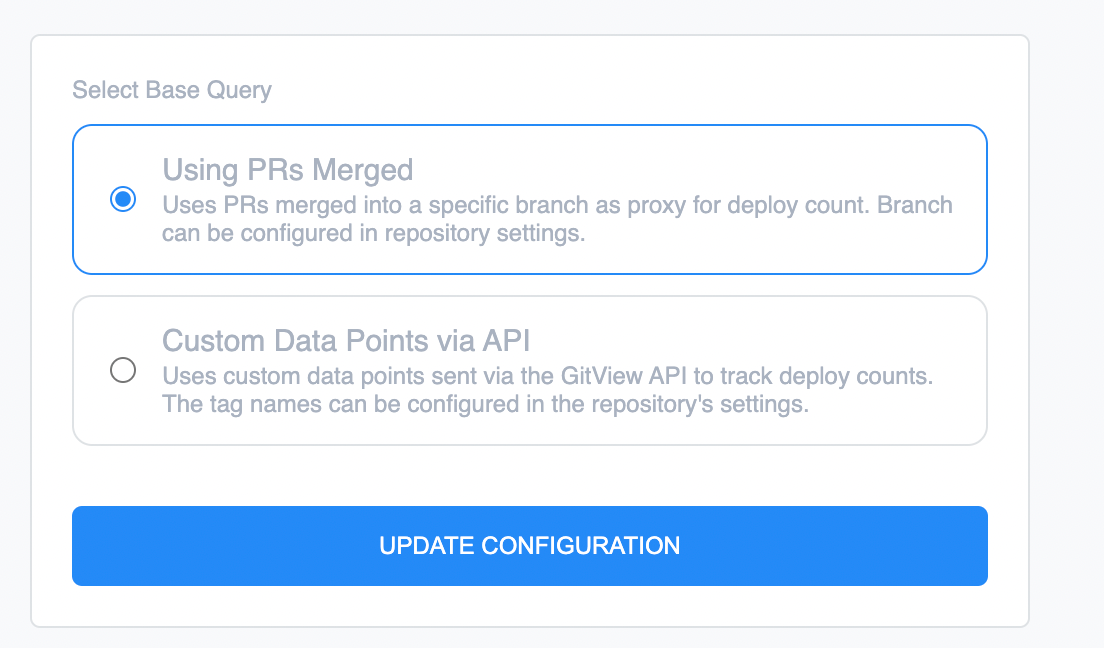
Tracking deploys via pull requests merged into a specific branch
- Click the gear icon in the upper right corner of the chart

- Select the proper configuration

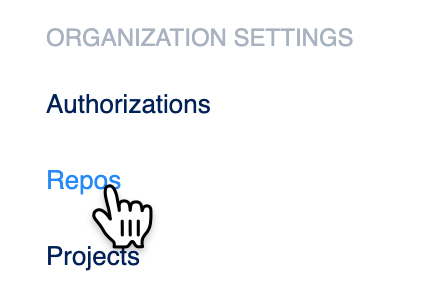
- Click into the Repo settings, which is under Organization Settings (Bottom left corner of the dashboard)

- Select the specific repository you want to configure

- Set the branch name under the repository settings (default is main)

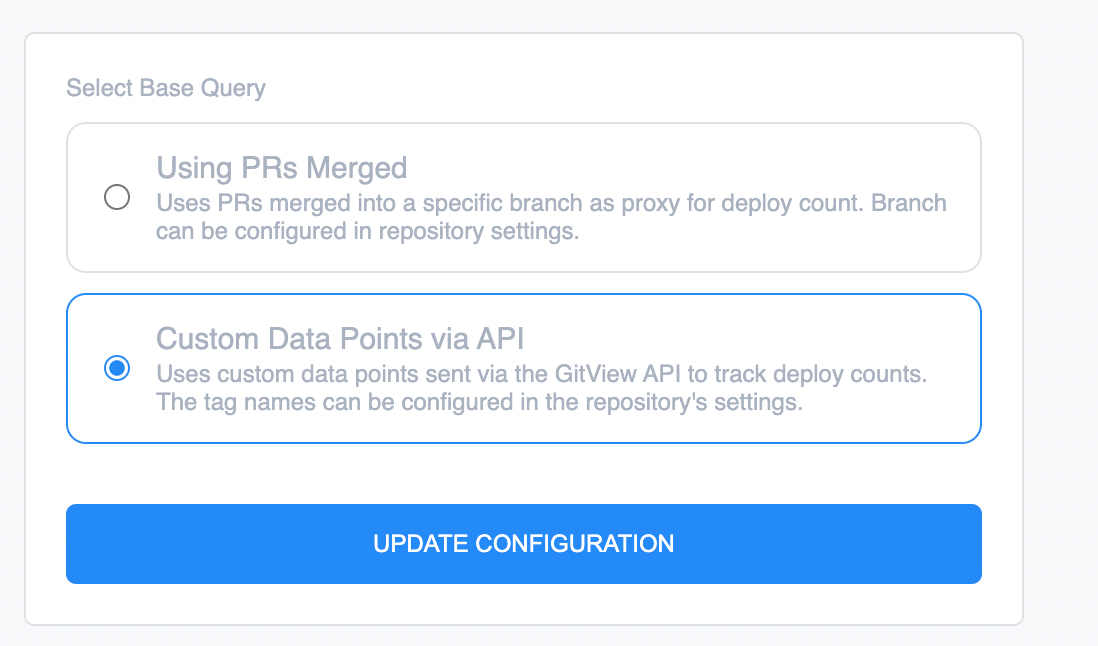
Tracking deploys using custom data points that you send to GitView via the API
- Click the gear icon in the upper right corner of the chart

- Select the proper configuration at the report level

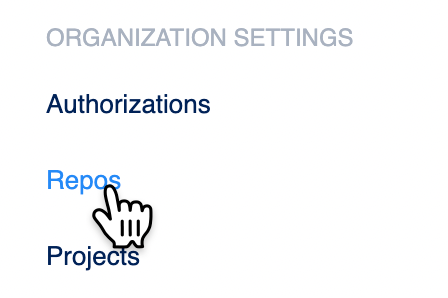
- Click into the Repo settings, which is under Organization Settings (Bottom left corner of the dashboard)

- Select the specific repository you want to configure

- Set the tag name under the repository settings (default is deploy, but it should be unique per repo you are tracking)

- Begin sending data to the API via the custom data endpoint with your specific tag
rubycurl -X POST "http://app.gitview.com/custom_data_points" \
     -H "Content-Type: application/json" \
     -d '{
            "api_key": "<your uuid key here>",
            "tag": "deploy",
         }'
or alternatively, a one liner approach (easy to use within C.I. setups):
rubycurl -X POST "http://app.gitview.com/custom_data_points?api_key=<your uuid key here>&tag=deploy"
